Skin Safety Test
IPL is not suitable for all people. While very rare, some people can have a skin reaction to IPL treatment that results in burning or hypo-pigmentation (less melanin in your skin). Before beginning treatment you MUST complete a skin safety test. Not completing this test or improper use of this device can lead to burning, scarring, or skin discoloration.
If your skin is Type V or Type VI on the Fitzpatrick skin chart below, if you have recent UV exposure that has altered the pigment of your skin (artificial or natural light), this can lead to a skin reaction.
Before beginning treatment with Nood’s IPL hair removal device, it is recommended that you consult with a doctor or dermatologist.

NOTE: Please take note which skin types are suitable for IPL treatment. If you have skin types V or type VI, please do not proceed with treatment as you will be at higher risk of a skin reaction. See official Fitzpatrick Skin Type listing on NIH website here
How to Complete the Skin Safety Test
Step 1 - Read Your Included Instructions
Please read through all of the included instructions in your manual before beginning treatment, as the misuse of your IPL handset could lead to injury or bodily harm. We know they’re long, but it’s important you read the instructions for your safety. The skin safety test presented on this page supersedes any test outlined in your instruction manual.
Step 2 - Prepare Your Skin & The Device
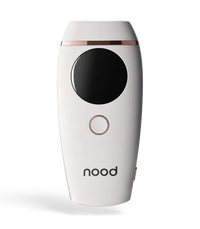
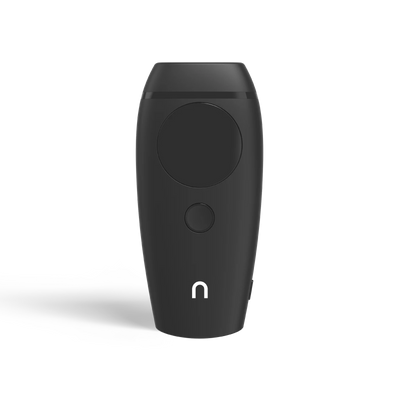
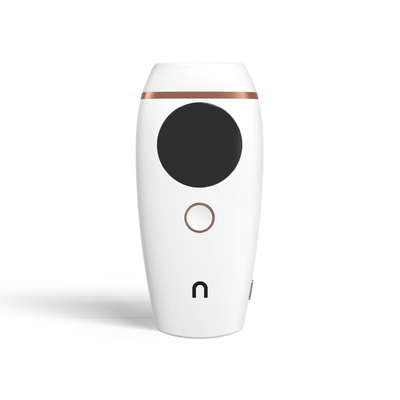
Prepare your skin by shaving and exfoliating the intended treatment area(s). Power on your device by holding the button on the side until the LED screen display turns on.
NOTE: The device needs to be plugged in during use.
Step 3 - Identify Test Spot & Test Device
Identify a single inconspicuous spot of your skin within the treatment area you intend to treat, somewhere that is not easily visible (i.e. if you are treating your legs, find a small spot on the inside of your ankle). If you intend to use the device on your face we recommend completing the test on the underside of your chin.
The area you will test should be no larger than the width of the device. This is your Test Spot.
With the device set to level 1, press the device against your skin.
Do NOT press hard enough that the glass on the device head touches your skin. The only part of the device that should be in contact with your skin is the plastic perimeter surrounding the head of the device.
*WARNING* - Pressing the glass against your skin may result in burns and/or scarring.
Step 4 - Find Your Intensity Level
Flash the device on your Test Spot with the device at level 1.
Wait 5 seconds.
Flash the device again on the Test Spot at level 1.
Wait 5 seconds.
Flash the device one final time on your Test Spot at level 1.
Repeat the above steps at each level until you get to the highest level you can tolerate without pain.
This is your Treatment Level. (NOTE: The device goes to level 7)
Wait for 48 hrs
Step 5 - Second Spot Test
If you had a skin reaction to the device, see list below, immediately discontinue use and contact our team at hello@trynood.com.
Prepare your skin as mentioned in Step 2.
Turn on the device and set it to your Treatment Level indicated in Step 4.
Flash the device on your Test Spot.
Wait 5 seconds.
Flash the device on your Test Spot.
Wait 5 seconds.
Flash the device on your Test Spot.
Wait another 48 hrs.
Step 6 - Final Spot Test
If you had a skin reaction to the device, see list below, immediately discontinue use and contact our team at hello@trynood.com.
Prepare your skin as mentioned in Step 2.
Turn on the device and set it to your Treatment Level indicated in Step 4.
Flash the device on your Test Spot.
Wait 5 seconds.
Flash the device on your Test Spot.
Wait 5 seconds.
Flash the device on your Test Spot.
Wait another 48 hrs.
Step 7 - Complete Skin Safety Test
If you complete the steps above and do not have a skin reaction, you have successfully completed the skin safety test and your skin is ready for treatment for the area that you completed the skin safety test in.
NOTE: If you intend to treat a different area of your body (i.e. your arms, bikini, etc), please repeat steps 4-7 above before beginning treatment. Different areas of your skin can have different reactions to treatment.
NOTE: DO NOT begin treatment without completing the entirety of the skin safety test.
If you have a negative reaction to the IPL handset at any time during use, immediately DISCONTINUE use and contact our team at hello@trynood.com. A negative reaction can be defined as any of the following:
Migraine
Spotty Vision
Skin Rash
Itchy Skin
Discoloration
Burns
Scarring

